This manual provides a comprehensive guide for troubleshooting, maintaining, and repairing GE stackable washer dryer combos. Designed for homeowners and technicians, it covers common issues, maintenance tips, and repair solutions to ensure optimal performance and longevity of your appliance.
Key topics include error codes, maintenance routines, and step-by-step repair procedures. By following this manual, you can address problems effectively and extend the lifespan of your GE stackable washer dryer.
1.1 Overview of the GE Stackable Washer Dryer Combo
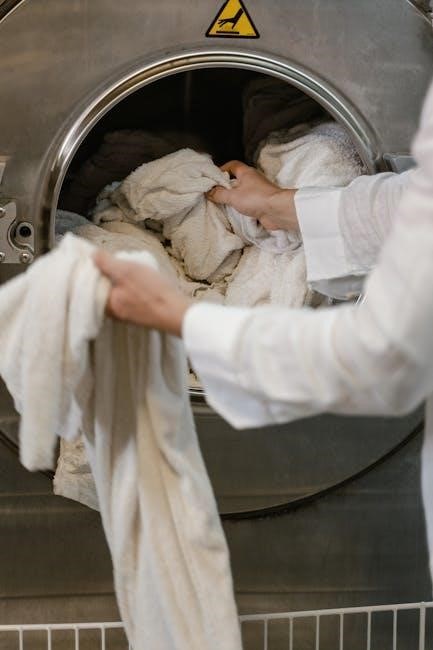
The GE stackable washer dryer combo is a space-saving, energy-efficient appliance designed for convenience. It combines a washer and dryer in one unit, ideal for small spaces. The stainless steel drum ensures durability, while multiple wash and dry cycles cater to various fabric types. With a focus on compact design and user-friendly controls, this combo is perfect for modern homes. Its construction and features make it a reliable choice for daily laundry needs, offering both performance and practicality in a single unit.
1.2 Importance of Regular Maintenance and Repair
Regular maintenance is crucial to ensure the optimal performance and longevity of your GE stackable washer dryer. Cleaning the lint filter, checking the drain hose, and ensuring proper ventilation are essential tasks to prevent issues like poor drying performance or increased energy consumption. Neglecting maintenance can lead to costly repairs or even safety hazards. By following the recommended maintenance routines, you can extend the lifespan of your appliance, reduce energy bills, and ensure reliable operation for years to come.
Troubleshooting Common Issues
Troubleshooting your GE stackable washer dryer involves identifying error codes, diagnosing unusual noises, and understanding why the unit may not start. Regular checks can resolve many issues before they escalate, ensuring smooth operation and minimizing downtime. This section guides you through common problems and their solutions, helping you restore functionality quickly and effectively.
2.1 Identifying Error Codes and Their Meanings
GE stackable washer dryers display error codes to indicate specific issues. Codes like E1, E2, or E3 often relate to sensor malfunctions or communication errors between components. Understanding these codes is crucial for effective troubleshooting. Refer to your user manual or the GE service manual for a detailed list of codes and their meanings. Addressing these issues promptly can prevent further damage and ensure your appliance runs efficiently. If unsure, consult a professional for assistance. Regular checks can help identify problems early, minimizing downtime and extending the appliance’s lifespan. Always follow the GE repair manual guidelines for accurate diagnoses and solutions.
2;2 Diagnosing Strange Noises from the Washer or Dryer
Strange noises from your GE stackable washer dryer can indicate mechanical issues. Grinding sounds may suggest worn drum bearings or a faulty belt, while rattling could signal loose objects inside. Inspect the washer drum and dryer components for damage or obstructions. Ensure the appliance is level to prevent vibration-related noise. If noises persist, consult the GE repair manual for specific troubleshooting steps or consider professional assistance to avoid further damage. Always disconnect power before performing inspections or repairs.
- Grinding sounds: Check drum bearings or belt wear.
- Rattling: Remove loose items or debris from the drum.
- Vibrations: Ensure the unit is properly leveled.
2.3 Understanding Why the Washer or Dryer Won’t Start
If the washer or dryer fails to start, check for power issues, such as a tripped circuit breaker or an unplugged unit. Ensure the door is closed properly, as an open door or faulty door switch can prevent operation. Verify that the control panel is functional and not locked by the child safety feature. If internal components like the start switch or timer are faulty, consult the GE service manual for diagnostic steps. Addressing these issues promptly can restore functionality to your appliance.
- Check power supply and connections.
- Ensure the door is properly closed.
- Inspect the control panel for responsiveness.
- Disable child safety locks if activated;
Regular Maintenance Tips
Regular maintenance ensures optimal performance and extends the lifespan of your GE stackable washer dryer. Clean the lint filter, inspect hoses, and ensure proper ventilation to prevent issues.
- Clean the lint filter after every use.
- Check and replace worn-out hoses.
- Ensure the dryer vent is clear for airflow;
3.1 Cleaning the Lint Filter and Exhaust Duct
Cleaning the lint filter and exhaust duct is essential for maintaining your GE stackable washer dryer’s efficiency and safety. A clogged lint filter can reduce airflow, leading to longer drying times and increased energy consumption. Regularly inspect and clean the filter after each use to prevent lint buildup. Additionally, ensure the exhaust duct is clear of debris to improve ventilation and reduce the risk of fires. Proper maintenance ensures optimal performance and extends the appliance’s lifespan.
- Clean the lint filter after every load.
- Inspect the exhaust duct for blockages.
- Use a vacuum or brush to remove lint and debris.
3.2 Checking and Replacing the Drain Hose
Regularly inspecting the drain hose is crucial for preventing water accumulation and mold growth. Over time, the hose may develop cracks or kinks, leading to poor drainage or leaks. To maintain optimal performance, check the hose for damage or blockages. If damaged, replace it immediately to ensure proper water flow and prevent potential damage to the washer or surrounding areas. Always secure the hose tightly to avoid loose connections.
- Inspect the drain hose for cracks or kinks.
- Replace the hose if you find any damage.
- Ensure the hose is securely connected to prevent leaks.
Regular maintenance helps extend the appliance’s lifespan.
3.3 Ensuring Proper Ventilation for the Dryer
Proper ventilation is essential for your GE stackable dryer to function efficiently and safely. A clogged or poorly ventilated system can lead to poor drying performance, increased energy bills, and potential fire hazards. Regularly clean the lint filter and inspect the exhaust duct for blockages. Ensure the venting system is installed correctly, using rigid metal ducts to prevent sagging or kinks. Proper ventilation also reduces moisture buildup, protecting both the appliance and your home from damage.
Regular checks and maintenance ensure optimal dryer performance and safety.
Repair Guides for Common Problems
This section provides detailed repair guides for common issues in GE stackable washer dryers, such as leaks, heating element failures, and control panel malfunctions. Step-by-step solutions ensure quick fixes and prevent further damage. Suitable for both DIY enthusiasts and professionals, these guides help restore your appliance to optimal functionality.
Addressing common problems effectively extends the lifespan of your washer dryer combo;
4.1 Fixing a Leaky Washer Drum
A leaky washer drum can be caused by worn gaskets, damaged bearings, or a faulty pump. Start by disconnecting power and water supply. Access the drum by removing the top panel or front access door. Inspect the gasket for wear and replace if necessary. Check the bearings for corrosion or damage and lubricate or replace them as needed. Ensure the drain pump filter is clear of debris. Replace any faulty parts with genuine GE components. Proper reassembly and leak testing are essential to ensure the repair is successful.
Regular inspection and maintenance can prevent future leaks and extend the appliance’s lifespan.
4.2 Replacing the Dryer Heating Element
To replace the dryer heating element, start by disconnecting power and gas supply for safety. Locate the heating element, typically found at the rear or bottom of the dryer. Remove the back panel or access door to expose the component. Disconnect electrical connectors and remove screws securing the heating element. Carefully take out the old element and install the new one, ensuring proper alignment and connections. Reassemble the dryer and test to confirm proper heating. Always use genuine GE parts for reliability and safety.
Regularly inspecting and replacing the heating element prevents damage and ensures efficient drying performance.
4.3 Repairing the Washer Control Panel
Begin by disconnecting power to the washer. Remove the screws securing the control panel and gently pry it off. Inspect for loose connections, damaged buttons, or faulty sensors. Clean or replace faulty components, ensuring proper alignment when reinstalling. Use a multimeter to test electrical continuity in switches or wiring. Replace any defective parts with genuine GE components. Reassemble the panel, restore power, and test functionality. Addressing control panel issues promptly prevents further damage and ensures reliable operation.
Regular inspection and maintenance can help identify and resolve control panel problems early.
Spare Parts and Accessories
This section lists essential spare parts and accessories for GE stackable washer dryer repair. Find genuine GE components, tools, and guides to ensure proper replacements and maintenance.
Always use GE-approved parts to maintain appliance performance and warranty validity. Compare prices and suppliers for the best options.
5.1 Identifying the Right Spare Parts for Your Model
Correctly identifying spare parts for your GE stackable washer dryer is crucial for effective repairs. Always refer to your appliance’s service manual or GE’s official parts catalog to ensure compatibility. Enter your model number to find exact replacements; Genuine GE parts guarantee optimal performance and safety. For models like GTUP270EMWW, verify specifications before purchasing. Using authentic components prevents warranty issues and ensures longevity.Consult trusted suppliers or GE’s website for accurate parts identification and ordering.
5.2 Where to Buy Genuine GE Replacement Parts
Genuine GE replacement parts ensure compatibility and optimal performance for your stackable washer dryer. Purchase directly from GE’s official website or authorized retailers. Enter your appliance’s model number, such as GTUP270EMWW, to find exact matches. Authorized dealers guarantee authenticity and warranty compliance. Avoid third-party sellers for GE-specific components to maintain quality and safety standards. Always verify seller authenticity to ensure you receive legitimate GE parts tailored to your model.
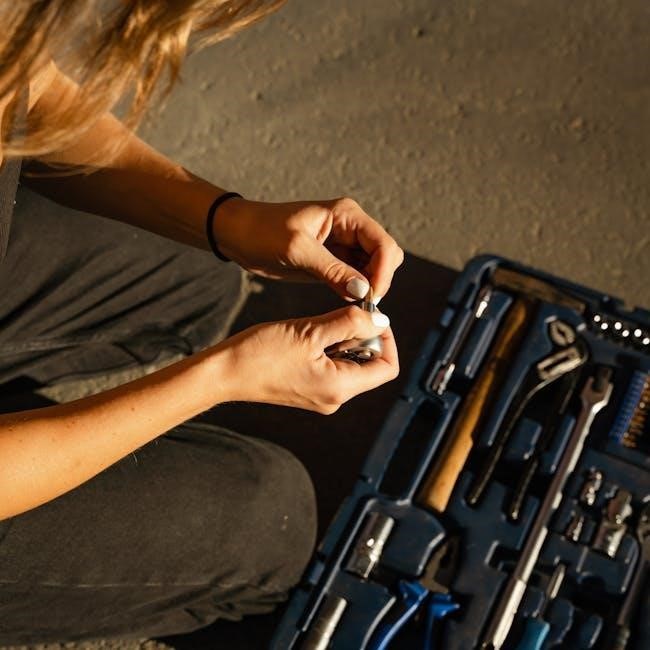
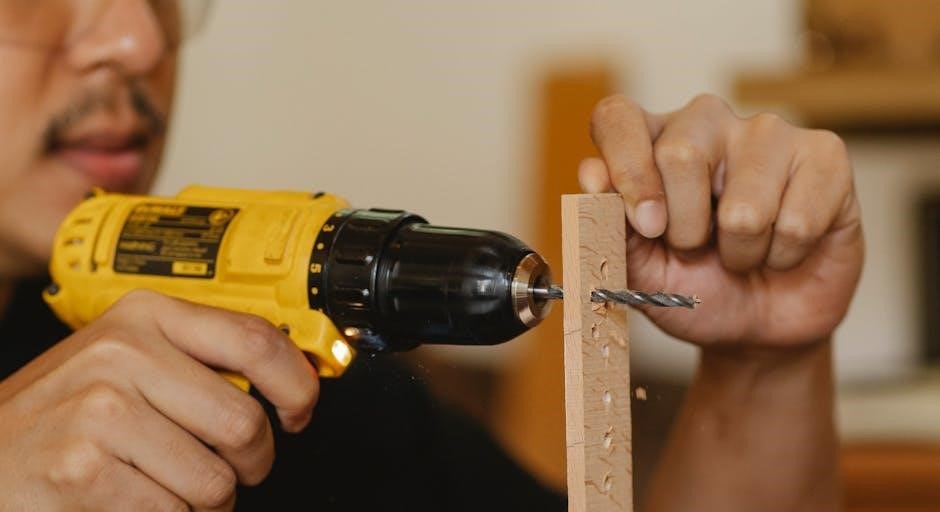
5.3 Tools Required for DIY Repairs
Essential tools for DIY repairs include a Phillips screwdriver, pliers, a multimeter, and a wrench. Ensure you have Torx drivers for specific models. A socket set may be needed for internal components. Safety gear like gloves and goggles is crucial. Use a voltage tester for electrical checks. Keep a work light for visibility. Refer to your GE manual for model-specific tools, such as the voltage-dropping resistor tester. Proper tools ensure safe and effective repairs.

Safety Precautions
Always disconnect power before starting repairs. Wear safety gear like gloves and goggles. Handle electrical components with care to avoid shocks or injuries. Ensure proper ventilation and follow manual instructions to prevent accidents during DIY repairs. Safety is paramount when working with appliances.
6.1 Disconnecting Power Before Starting Repairs
Disconnecting power is a critical safety step before any repair. Locate the circuit breaker or outlet controlling the appliance and switch it off. Verify the power is off using a voltage tester to ensure no electrical current is present. This prevents accidental startups, shocks, or injuries. Never attempt repairs while the appliance is powered on. Always double-check that the power supply is completely cut off before accessing internal components. This simple step can prevent serious accidents and ensure a safe working environment.
6.2 Handling Electrical Components Safely
When handling electrical components, always use insulated tools to prevent shocks. Ensure the appliance is disconnected from power and confirmed with a voltage tester. Avoid touching live wires or components, as residual electricity can still pose a risk. Ground yourself by wearing an anti-static wrist strap to prevent static discharge damage. Never bypass safety features or attempt repairs near water. Always follow the manufacturer’s instructions and take extra precautions to avoid electrical hazards. Safety should always be your top priority when working with electrical systems.
6.3 Proper Use of Safety Gear During Repairs
Always wear safety glasses to protect your eyes from debris or chemical splashes. Use gloves to prevent cuts and ensure a secure grip on tools. A dust mask is essential when handling lint or dust from the dryer. Steel-toe shoes can protect your feet from heavy objects. Keep a fire extinguisher nearby and ensure good ventilation when working with electrical or heating elements. Proper safety gear ensures your protection and allows you to focus on the repair without unnecessary risks.
Advanced Troubleshooting Techniques
Advanced troubleshooting involves testing components like the voltage-dropping resistor and dryer start switch. Use diagnostic tools to identify complex issues and ensure proper electrical connections for optimal performance.
These techniques help resolve hidden faults efficiently, ensuring your GE stackable washer dryer operates smoothly.
7.1 Testing the Voltage-Dropping Resistor
Testing the voltage-dropping resistor is crucial for diagnosing electrical issues in your GE stackable washer dryer. Locate the resistor in the control panel and use a multimeter to measure its resistance. Compare the reading with the specifications in the service manual to determine if it’s functioning correctly. If the resistor is faulty, replace it with a genuine GE part to ensure proper voltage regulation and prevent further damage to the appliance.
Always disconnect power before performing this test to avoid electrical hazards.
7.2 Checking the Dryer Start Switch and Timer
To check the dryer start switch and timer, access the control panel by placing it in the service position. Use a multimeter to test the start switch for continuity when activated. For the timer, measure its resistance across the relevant terminals as per the service manual. If readings deviate from specifications, replace the faulty component with a genuine GE part. Ensure the appliance is disconnected from power before starting the test to avoid electrical hazards and ensure accurate results.
7.3 Performing a Diagnostic Test on the Washer
Start by accessing the service position of the control panel to initiate the diagnostic test. Use a multimeter to check key components like the voltage-dropping resistor and water level sensor for proper function. Next, run a diagnostic cycle to monitor the washer’s operation, ensuring all phases (fill, wash, rinse, spin) activate correctly. If irregularities are detected, refer to the service manual for specific error codes and repair guidance. Always disconnect power before performing any internal tests to ensure safety and accuracy in diagnostics.
This manual provides essential guidance for maintaining and repairing GE stackable washer dryers, ensuring longevity and efficiency. Regular maintenance and proper troubleshooting can prevent major issues and extend appliance lifespan.
8.1 Summary of Key Repair and Maintenance Tips
Regular maintenance is crucial for extending the lifespan of your GE stackable washer dryer. Clean the lint filter after every use, check the drain hose for blockages, and ensure proper ventilation. Address error codes promptly and refer to the manual for troubleshooting. For complex issues, consider professional assistance. Always use genuine GE parts for repairs to maintain performance and safety. By following these tips, you can keep your appliance running efficiently and avoid costly repairs.
8.3 Encouragement to Seek Professional Help When Needed
8.2 Importance of Following the GE Service Manual
Adhering to the GE Service Manual ensures safety, optimal performance, and longevity of your stackable washer dryer. It provides precise diagnostic procedures, repair guidelines, and maintenance schedules tailored to your model. Following the manual helps prevent further damage, voiding warranties, and ensures compliance with safety standards. Genuine parts and proper techniques are emphasized to maintain reliability. By following the manual, you can address issues confidently and efficiently, minimizing risks and extending the appliance’s lifespan.